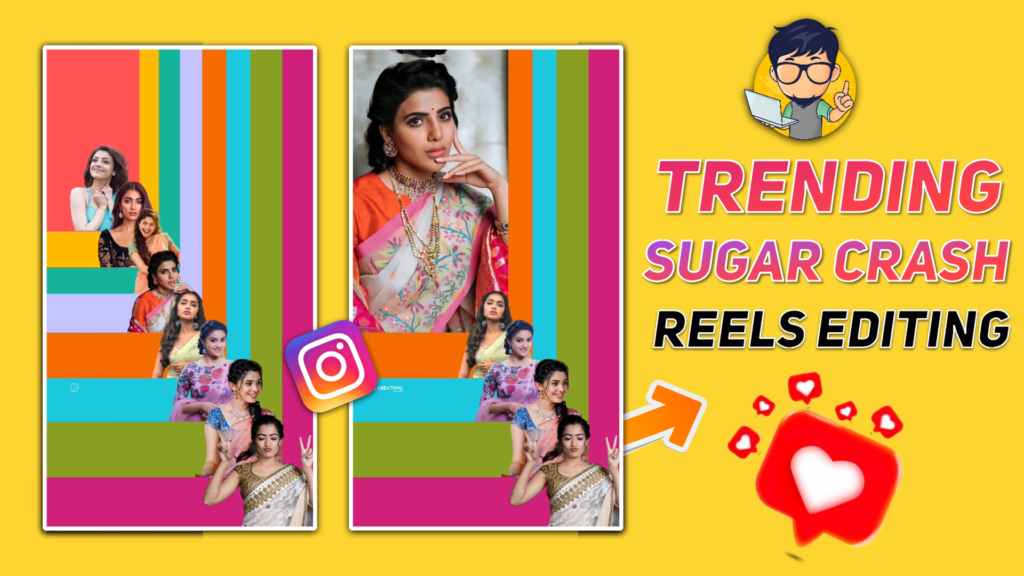
Hello guys, welcome you all into another amazing blog. This blog is about another trending reel video. Basically in this blog we will see how you can create Sugar Crash trending reel videos in Android phones. This type of videos are spreading at a high rate on Instagram reels. And the main thing is that the editing of such videos is very easy. You can also make this video very easily if you read this blog till the end. So without wasting time let’s get started.

STEP 1
Firstly you need to decide the number of layers you are including in the sugar crash trending reel video. On the basis of the number of layers now you need to remove the background of the same number of images. Means if you are making 7 layer video then you need to to remove the background of 7 images. To remove the background of the image we are using a Photo Room application. In this application you can easily remove the background of any images. Download link of this application is available below.
STEP 2
Open the photo room application to remove the background of images. Now you will get the + icon at the centre of the upper side. Click on the plus icon and then select the images of which you want to remove the background. Wait for a while and select the transparent background image. Now save this transparent background image into your gallery. Perform the same procedure to remove the background of other images.
STEP 3
We will edit our Sugar Crash trending reel video in the cap cut application. Cap cut is the video editing application which provides you with a vast number of animations. All the animations are defaultly present in the app and to use them you just need to apply it. So that’s why we have chosen the cap cut application to edit our videos. You can download this application by using the below download link.
STEP 4
If you are from the Indian region then you need another extra application to use the cap cut APK. The other application is a VPN application. There are many VPN applications present on Play Store and app store. So download any VPN application and get connected to any server. I am personally using the Turbo VPN. If you also need this then I will provide the download link of turbo VPN application below.
STEP 5
After getting connected with a VPN server, open the cap cut application. You will see the main interface of the app. You will also get the plus icon at the top left side. So click on it and select the transparent background images which we have just saved in our gallery. Now select the format option and choose the 16:9 ratio. You will also get the Canvas option just beside the format option. Click on it and choose any colour.
STEP 6
Rotate the transparent background image by -90 degree. After rotating the images, move it to the upper right corner of the screen. Now click on the plus icon available on your right hand side and add another 4 photos. Again rotate all the images by -90 degree and adjust them into the full screen. You will see that all the images are set to duration of 3 seconds by default. So you need to re-adjust the four images to 0.4 second duration.
STEP 7
It’s time for the animation. So to apply the animation select the first transparent background image and then click on the animation option. Now choose the in animation option and apply the rotate vertically animation. Then apply the combo animation to the remaining 4 photos. To do so click on the animation and then select the combo option. Now apply the pendulum 2 named animation to all the four photos.
STEP 8
Save this video in your gallery by clicking the share option available at the Upper right corner. Now you are done with the one layer. You need to create more layers like this. So to create the next layer just click on the plus icon and select the video which you have just exported. Now follow the same procedure which you have performed while creating the first layer.
STEP 9
Let me help you to create the second layer. Look for the Canvas option by sliding the lower menu to the right side and then select the different colour from the first layer. Now you will get the overlay option so choose it and add another removed background image. Resize and adjust these images to the upper right corner of the screen. Now again add the four images by clicking the plus icon available on your right hand side. Apply the same animations which we have used while making the first layer.
STEP 10
Let’s proceed further by thinking that you have made the desired layer reel video. Now again create a new project and add the desired layer video which you have just saved in your phone. Now slide the lower menu to the right side and you will get the format option in your front. Select the format option and choose 9:16 ratio. Now rotate the main video by plus 90 degrees.
STEP 11
The only thing which we have left with is our MP3 song. So to add the MP3 song click on the add audio option. Then select the from device option and add a sugar crash MP3 song. If you don’t have this song in your phone then you can download it by using the downloadable link given below. After adding the MP3 song review your video and make the desired changes according to your need.
STEP 12
After following all the steps mentioned above your video is ready to export. To export the video just click the share button and save your video. If you face any problems regarding this video, then you can refer to my youtube video. Link is given below.
If you have any queries about today’s blog then feel free to share with us by using the comment box. We will try to solve your queries as early as possible. Thank you for your valuable time.


0 Comments