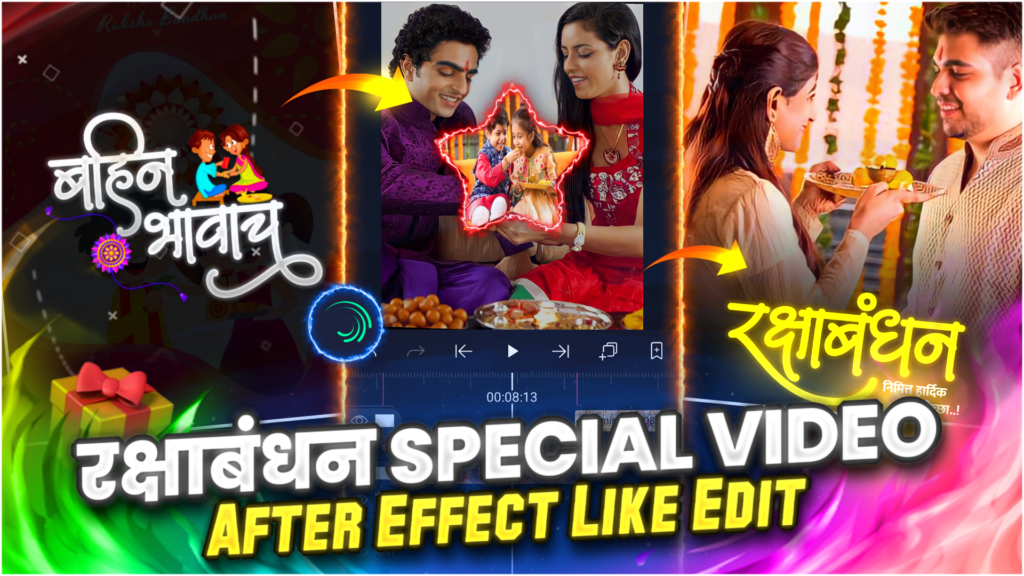
This blog is going to be so interesting. Because in this blog you will learn how to create Raksha Bandhan special status video in alight motion. Basically in this video I am going to tell you how you can create a Raksha Bandhan special status video by using your own photos. You can easily create this type of video for you or for your sister. The only thing you need to do is to follow the below given steps sincerely. Because if you miss any step then you won’t be able to make a perfect video. So let’s get started.

STEP 1
This blog is going to be different from our regular blog post. Because in this blog i can’t elaborate the process of making Raksha Bandhan special status video in detail. Due to personal reasons i have to do this but i will try to update this post later. So don’t forget to check it after 2-3 days.
STEP 2
Now I am going to provide you with the material which you need to create a Raksha Bandhan special status video. All material links are given below. So you can easily download all material from these links. One more thing is that all materials are free to use and royalty free.
STEP 3
Open the alight motion application and click on the plus icon available at the bottom side to create a new project. Now select the ratio, resolution and frame rate and click on the create project option. Now add MP3 songs by using the audio option. Now you need to mark the beats present in our MP3 song. I have provided the download link for the MP3 song below.
STEP 4
Apply the shake effect to all the added images. Shake effect makes our video more attractive. You can create your own shake effects by using the effects present in the alight motion application or you can use the readymade effects that I have made for my videos. To use my effects import the below shake effect project into your alight motion application. After importing the project you just need to copy and paste the effects from one project to the other project.
STEP 5
Come to the position of first red line and add those images on which you are going to create this aesthetic beat sync video. After adding the image, resize it and fit it to full screen and trim extra part from the position of the next Red Line. If you need the images that I have used in my video. Then you will get all the images on my Telegram channel. So please join our Telegram channel by clicking the button given below.
STEP 6
Let’s proceed further by thinking that you have made the desired layer reel video. Now again create a new project and add the desired layer video which you have just saved in your phone. Now slide the lower menu to the right side and you will get the format option in your front. Select the format option and choose 9:16 ratio. Now rotate the main video by plus 90 degrees.
STEP 7
Save this video in your gallery by clicking the share option available at the Upper right corner. Now you are done with the one layer. You need to create more layers like this. So to create the next layer just click on the plus icon and select the video which you have just exported. Now follow the same procedure which you have performed while creating the first layer.
STEP 8
We are adding iPhone emoji PNG over this sparkle circular overlay video to enhance the attractiveness of our video. So again click on plus icon and then select the image and video option to add the iPhone emoji PNG. Now resize the iPhone emoji PNG according to the circular overlay video. You can use the move and transfer option to resize the PNG. You can download this iPhone emoji PNG by just clicking the button available below.
STEP 9
We are done with the main editing part of our phulpakhru remix beat video. To proceed further in our video you need to add black colour Shadow PNG hair. You just need to do the same as we have done to add the रक्षाबंधन name text PNG in the above step. The download link of this black colour Shadow PNG is given below.
STEP 10
We are done with the main editing part of our Krithi Shetty special beat sync status video. To proceed further in our video you need to add black colour Shadow PNG hair. So use the image and video option and add these black colour Shadow PNG from the respective folder. The download link of his black colour Shadow PNG is given below.
STEP 11
After following all the steps mentioned above your video is ready to export. To export the video just click the share button and save your video. If you face any problems regarding this video, then you can refer to my youtube video. Link is given below.
If you have any queries about today’s blog then feel free to share with us by using the comment box. We will try to solve your queries as early as possible. Thank you for your valuable time.


2 Comments
Sonya · August 20, 2021 at 5:36 am
Happy
Raksha Bandhan
Bhava
In advance
Suraj · August 21, 2021 at 9:05 am
P