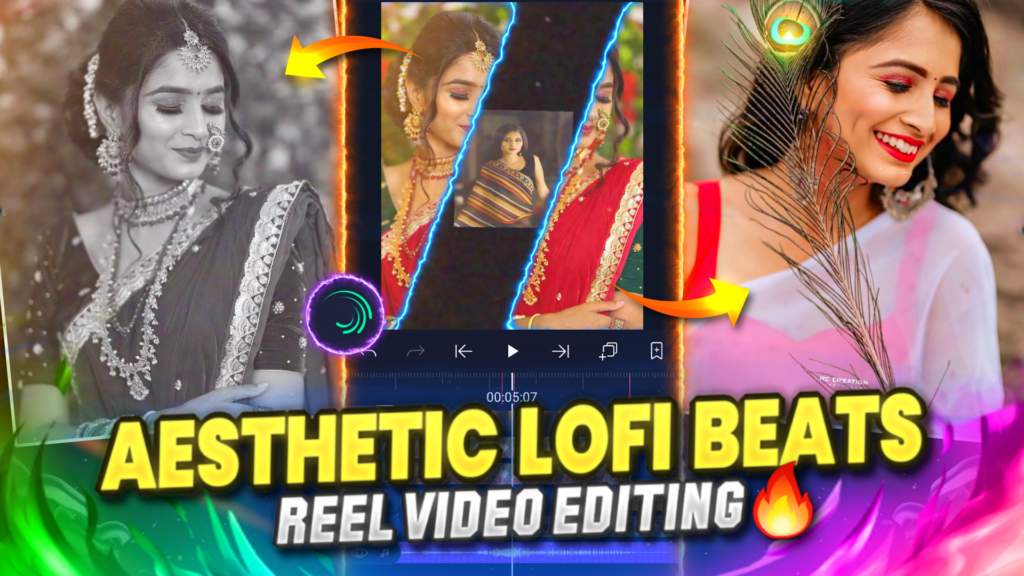
Hello friends, My name is RC creation and I welcome you all into another interesting blog post. In this blog post we will learn how you can create Main Tera lofi beat sync status video with the help of a mobile phone. Nowadays lofi beats are the trending topics on Instagram and YouTube. So if you also want to be a part of this trending topic and want to make a lofi beat status video. I have explained all the things in a very simple manner. So please be with us till the end of this blog post. So without wasting any time let’s start today’s blog.

STEP 1
To make Main Tera lofi beat sync status video in a mobile phone you need an editing application which works properly in mobile phone. Alight motion is the best application to edit any videos on a mobile phone. We are also going to use the alight motion App to edit Main Tera lofi beat sync status video. In case you don’t have the alight motion app on your phone. Then I have provided the download link of the app below. You can download this app from that link.
STEP 2
Beat mark project is the most important part of Main Tera lofi beat sync status video. Because after importing the beat mark project you don’t need to Mark the beats of the song manually. Also these beats are marked by myself so you can say that these are the perfect beats. I will provide the import link of this beat mark project below so that you can import this project easily in your alight motion app.
STEP 3
Some of you are always asking me for the song that I use in my video but because I will provide you with the beat mark project, there is no need for an MP3 song. But I will provide the download link of an MP3 song for those who want it. You can also mark your own beats by adding this MP3 song to your project. By selecting the audio option you can add this MP3 song to your project. The download link for the Main Tera lofi song is given below.
STEP 4
Open the beat mark project and add a photo on which you are going to create this Main Tera lofo beat sync status video. To add the photo click on the plus icon and then select the image and video option. Now extend the length of your photo layer till the position of the third Red Line. After extending the layer, duplicate it by using the layer icon present on your right hand side.
STEP 5
If you need the images that I have used in my video. Then I am not able to provide you with the download link of all those images but if you still need those images. Then you can join our Telegram channel. On our Telegram channel you will get all those images in full HD quality. The joining link of Telegram channel is available below.
STEP 6
Apply the shake effect to the two images which are currently present in your project. These effects are something different from shake effects but you can also use the shake effects. You can create your own shake effects or you can also use the effects that I have made for my videos. If you want to use my effects then you need to import the shake effect project. In the shake effect project I have provided you with all the effects that we need to create the Main Tera Lofi beat sync status video. The import link of the shake effect project is available below.
STEP 7
You need the latest version of alight motion app to import any project. Means if you have the older version of alight motion then you can’t import the above shake effect project. To import the shake effect project you can upgrade your app to the latest version. If you can’t upgrade your app and still want to import the project then you need to take help of XML files. Because an XML file is the only way to import any project in an older version of alight motion app. The download link of the XML file is given below.
STEP 8
Add remaining photos to your project by using the image and video option and adjust them between two red lines. Now apply the shake effect to all the images that you have added to your project. To apply the shake effect, you just need to copy the effect from the shake effect project and apply it to your main project. As you know that I have already provided you with all the images that I have used in my video.
STEP 9
I will provide you with the two aesthetic dust overlay videos. This aesthetic dust overlay makes your video look like an aesthetic video. These overlay videos are like noise in the video but it attracts the user who likes the lofi beats and aesthetic videos. The download link of 1st aesthetic dust overlay video is given below.
STEP 10
Now the question is how you can use this aesthetic dust overlay video. It is a very simple task to use those aesthetic overlay videos. Click on plus icon and then select image and video option to add this aesthetic dust overlay video. Now click on the blending and opacity option and apply the screen effect to this aesthetic overlay video. Trim the extra part of this aesthetic dust overlay video. The download link of 2nd aesthetics dust overlay video is available below.
STEP 11
After following all the steps mentioned above your video is ready to export. To export the video just click the share button and save your video. If you face any problems regarding this blog post, then you can refer to my youtube video. Link is given below.
If you have any queries about today’s blog then feel free to share with us by using the comment box. We will try to solve your queries as early as possible. Thank you for your valuable time.


4 Comments
Subodh Kamble · August 13, 2021 at 6:39 am
Mast rc baba
Mrkamble · August 13, 2021 at 10:39 am
Bhau Tu beat marked project dili nahis 🙄🤔
RC CREATIONS · August 17, 2021 at 5:19 am
15 second wait kara… Milun jail
Rohit · August 14, 2021 at 6:45 pm
Tp