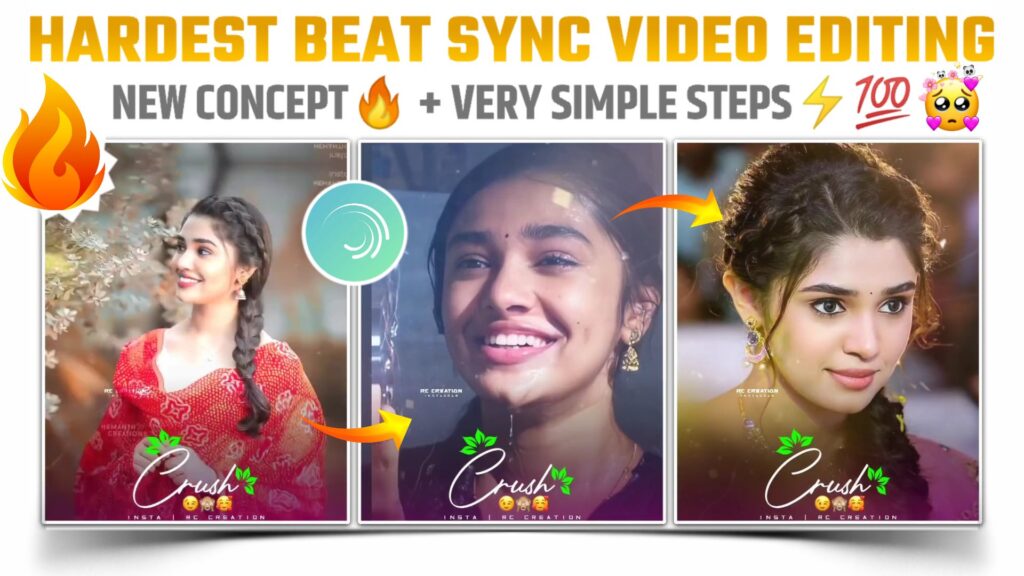
Have you ever made a hard beat sync status video ? If you answer is No! Then let’s try it today. Hello and welcome guys! In this blog we are going to see that how you can make a hard beat sync video using your mobile phone. This type of videos are very easy to edit. So just move through the following step.

Starting Phase:-
STEP 1
To make the hard lyrics beat sync status video, you need to take a help of one application called ‘Alight Motion’. So firstly download the latest version of alight motion. You can download the latest version by using below button.
STEP 2
Now you have to import a beat mark project for further process. In this project i have mark the beats of the song for you. This will save your time by skipping the beat marking process. So just import this beat marked project by using clicking below button.
(Note📝: PRESET link can only be import on 3.4.3 or above version of alight motion)
Main Phase:-
STEP 3
Open the imported beat marked project and come to the starting position. Now start adding images from first red line. You can add the images by choosing the images and video option. So add all the images and adjust them between two red lines.
STEP 4
If you see the bottom side of this project, you will observe the four segment. So in this step we will apply the effect to the photos which are not in any segment region. To apply the effect just import the another project by using below link. In this project i have provided the effect which we are going to use to create this status video.
(Note📝: PRESET link can only be import on 3.4.3 or above version of alight motion)
In you are not using the latest version of alight motion, then you can import this shake effect project by downloading the XML file.
(Note📝 : XML file can only be import on 3.3.5 3.3.0 & 3.1.4 version of alight motion)
STEP 5
Now apply the effect to the images of segment 1 region. For that select the image layer and click on the effect option. Now choose the “Move & Transfer” category and from here add the “Offset” effect at cycle right preset. In this manner you have to apply effect to remaining images of segment 1 region.
STEP 6
In this step you have to do the same work as done in previous step. So copy the segment 2 and segment 3 shake from provided shake pack and apply to the images of segment 3 and segment 4 region respectively.
STEP 7
At this step we are only left with the segment 4 images. You have to apply the transition to the segment 4 region images rather than the normal effects. To apply the transition you further need to import a project. So import the project by using below link and apply transition to all remaining images.
STEP 8
I am assuming that you have applied all necessary effects to each and every image. Now come to the position of first red line and add a glass particle overlay here. Download the overlay by clicking below button.
Enhancing Phase:-
STEP 9
Add the pink color shadow png in this step to make the status video more attractive. Download this pink shadow png from below link.
STEP 10
To end the status video with finishing touch, just add the “Crush” name text png at the position of first red line and extend it till the end. Download the png by clicking below link button.
I have provided this text file in Zip format. So to use this text png firstly unzip the above text file.
After following all the step mentioned above your video is ready to export. To export the video just click the share button and save your video. If you face any problems regarding this video, then you can refer my youtube video. Link is given below.👇
If you had any queries about today’s blog then feel free to share with us by using comment box. We will try to solve your queries as early as possible. Thank you for your valuable time😊


0 Comments