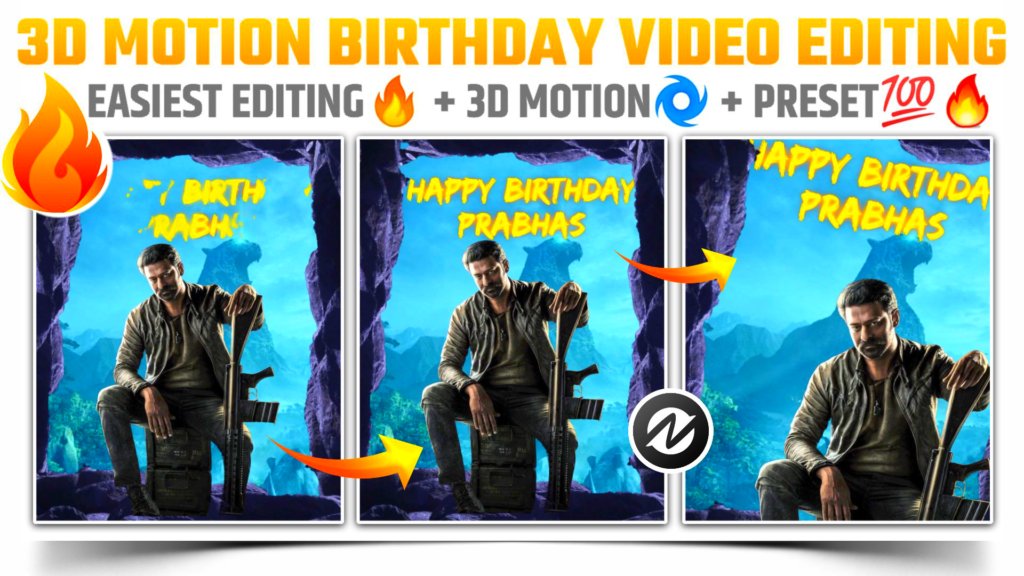
Hello guys, welcome back to another amazing blog. In this blog we are going to learn how to create 3D birthday videos in android. We are going to try 3D videos for the very first time. So to learn it it is necessary to be with us till the end of this blog. By the end of this blog you will be able to create a 3D birthday video for your friend or family. Editing 3D Videos is very easy but we are creating it on Android so it is a little bit boring because the screen is small and it gets difficult to adjust things. Anyways, let’s start today’s blog.
STEP 1
If you want to look at the preview of what we are going to create then you can watch it on my Instagram profile. If you’re not following me on Instagram then you can reach my Instagram ID by just clicking the below Instagram button.
STEP 2
To create a 3D birthday video firstly we need to create a birthday text. We are going to use the pixel lab application to make birthday text. If you don’t have the pixel lab application on your phone then you can download this pixel lab application by just clicking the downloadable link available below.
STEP 3
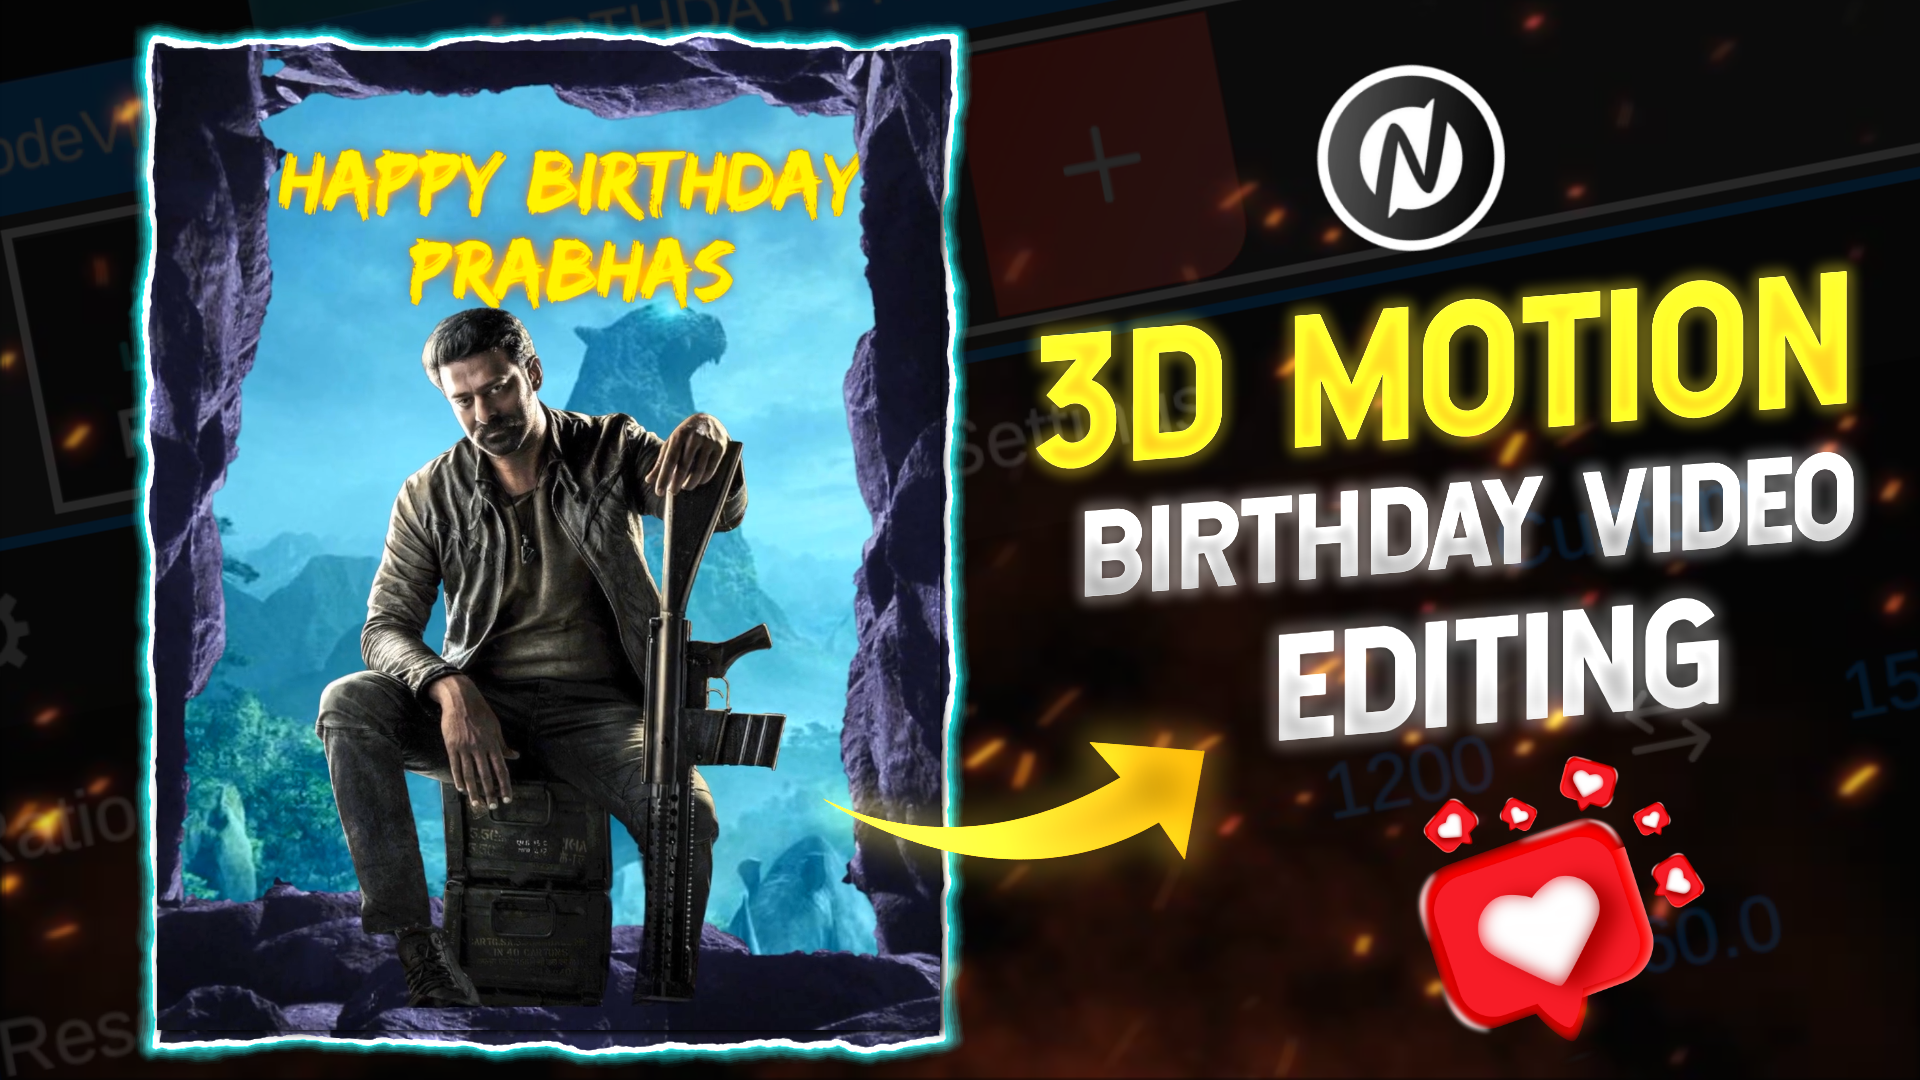
Open the pixel lab application and double tap to new text to edit that text. Now write a Happy Birthday text and then write the name of the birthday boy or birthday girl. You need to apply a special font to your text and the name of that font is Edo. You can download this font by just clicking the downloadable link given below. The credit of this font goes to the respective owner and we are using this font for the educational purpose only. After applying the font your text is ready now so save it in your phone.
STEP 4
Now you need a picture with a removed background which you are going to use to create this video. Basically we need to remove the background of our picture first and for that we will use a photo room application. Photo room is an application which automatically removes the background of your picture without losing the original quality of image. You can download this application by just clicking the button available below.
STEP 5
We are now ready with the Background remover application. Open it and click on the plus icon then select the which you are going to use to create this 3D birthday video. Now wait 5 to 10 second the app automatically removes the background of your picture. After the background gets removed select the transparent background image and save it to your gallery.
STEP 6
Here we collected the raw materials which we needed to create our main 3D birthday video. Basically we need an application which supports 3D animation in Android. Node video editor is the only application which is capable of creating 3D animation in Android. So we don’t have any option other than the Node video editor application. And considering the feature of Node video editor application it is best at Android level. So download this application by clicking the downloadable link below.
STEP 7
The homepage of the Node video editor application is very simple and clean. So you will basically get two options one of them is new and second one is load. So click on the load option and then select import load zip file. I have provided the zip file at the end of this paragraph. So download it and select it. Basically this zip file is prepared for a 3D birthday video. The download link of the zip file is given below.
STEP 8
Node video editor application starts the processing after selecting the zip file. Once the processing is done you will get a birthday video preset by RC creation name project on your homepage. Open this project. Now you will see many options and if you are using it for the very first time then you will get confused. But don’t worry I will help you in this case. Just follow the steps that are mentioned in the upcoming paragraphs.
STEP 9
Decode the group layer and click on the text image layer. Now click on the three lines present on the left hand side and then select the replace option. Now replace the default image text with the text image which we have created in the pixel lab application. Once you replace the image you don’t need to do any functions. Because all the settings are done already for you.
STEP 10
Now move to the image layer and select it. Here again click on the three lines available on the left hand side and then again select the replace option. Now choose your background removed image. We have already done the background removing task in the earliest steps. If your image is not perfectly adjusted then use the position option to adjust it properly in frame.
STEP 11
After following all the steps mentioned above your logo is ready to save. To save the logo just click the save button and save your logo. If you face any problems regarding this logo making, then you can refer to my youtube video. Link is given below.
If you have any queries about today’s blog then feel free to share with us by using the comment box. We will try to solve your queries as early as possible. Thank you for your valuable time.
Editing metireals