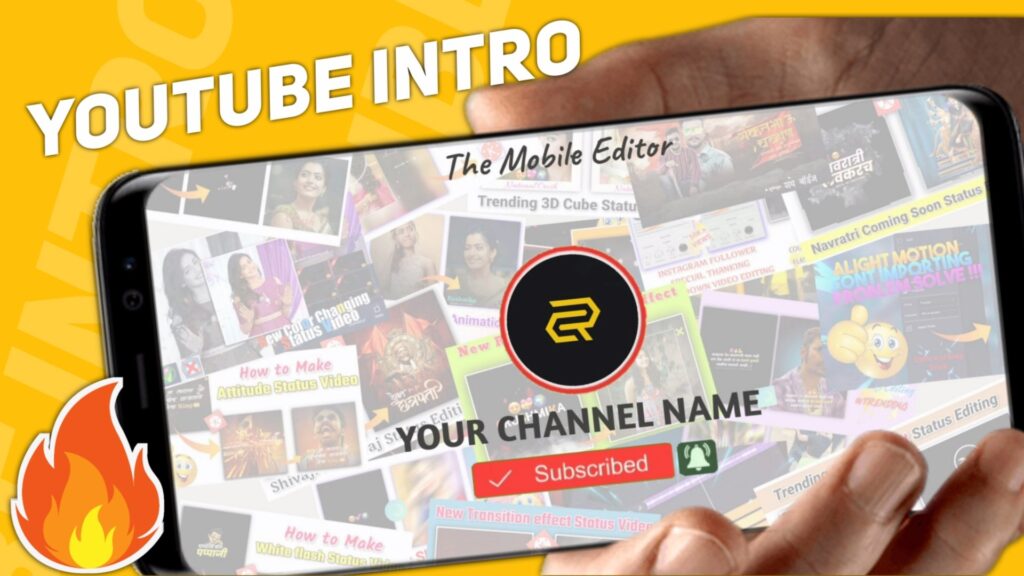
Hello guys, welcome to another interesting blog. First of all thank you so much for your love and support because we hit 100K subscribers yesterday on our YouTube channel. If you follow our YouTube channel then you may know about it. So in this blog I am going to explain to you how you can create a professional intro for your YouTube channel or any other social media. Intro of the YouTube channel is the first impression on our viewers. So it would be more professional and more attractive. So let’s start making a professional intro for your YouTube channel.

To make the the professional intro for your YouTube channel you need the help of some applications and materials. Which you all get in this blog. So it’s a request come suggestion to be with us till the end of this blog. We will make this professional intro in the following three steps. These steps are noted below.
Material Making
Preset Editing
Intro Exporting
1.MATERIAL MAKING FOR YOUTUBE INTRO
Let’s start with our first step, which is material making. This step also has three substeps. YouTube name editing is the first sub step of material making. So to edit the YouTube name you first need to download the plp file. Which you can download from the downloading link given below. I have provided this plp file in a Zip file format. So to use that file you need to unzip it first. If the extract option is defaultly available in your phone then you can easily unzip it or you can take the help of another application to unzip that plp file.
CHANNEL NAME MAKING FOR YOUTUBE INTRO
After unzipping that plp file Open this file into a pixel lab application. Now click on the layer option and edit the default name with your YouTube channel name. Then adjust the name to the centre off the screen. Then select the transparent background option and save it in your phone.
CHANNEL LOGO CROPPING FOR YOUTUBE INTRO
The second substep of material making is cropping your YouTube logo into circular shape. For that click on the plus icon in pixel lab application and select media option. Then add your Youtube logo and select the circular Crop option which you will get at the bottom of the layer. After cropping the logo into circular shape select a transparent background and save this circular shape logo into your phone.
THUMBNAIL IMAGE MAKING FOR YOUTUBE INTRO
Third substep of material making is creating a combo thumbnail image. To create a Combo thumbnail image open the pixel lab application select the YouTube thumbnail size ratio. Then start adding the thumbnail images. And set all the thumbnail on your main screen. If you need more help in this case then you can watch our video on YouTube for more references. You will get the YouTube video link at the end of this blog.
INTRO PRESET IMPORTING
The second step of professional intro making is preset editing. So first you need to import the intro preset project from the import link given below. You need the latest version of alight motion application to import this intro preset project. If you don’t have the latest version of alight motion then you will go through our website you will get the latest version of alight motion. To import the intro preset project by just clicking the button available below.
If you are using the older version of alight motion. Then you may not able to import the above intro preset project into alight motion application. So to import intro preset project to make the professional intro for YouTube channel you need to take the help of XML file. You can download the XML file of this and professor project from the downloadable link given below. After downloading the XML file import it into the alight motion application.
INTRO PRESET EDITING FOR YOUTUBE INTRO
Now open the intro preset project which you just imported from the above steps. Now follow the instruction which I have given you because if you miss anything then it would not possible to create a professional intro for YouTube channel. So follow the below instruction carefully.
1. Firstly you need to change the default thumbnail present in the intro preset project with your own thumbnail.
2. To change the defaulter name with your thumbnail select the colour and feel option and replace it with your own thumbnail.
3. Now you need to change the combo thumbnail image present in the intro preset project with the image that you have made in pixel lab by adding your own thumbnails.
4. To change the old combo thumbnail image with new one you also do the same step that is click on the colour and fill option and replace old image with the new thumbnail combo image.
5. Move forward and find the the Youtube logo name layer. Now do the same work with this layer also by changing the default YouTube name with your YouTube channel name.
6. At the last step of preset editing find the your logo name layer add change the default logo with your YouTube channel logo.
7. To do this select the colour and feel option and change the old logo with the the new logo which you have crop in circular shape in pixel lab application.
YOUTUBE INTRO EXPORTING
If you followed All the above steps sincerely then I guaranteed that you have completed the 90% editing part of your professional YouTube intro. Now we are at the end step of making professional YouTube intro that is intro exporting. Before exporting our intro video please check all the thing that you have changed. If you find everything is ok then you can import this intro video. To export the intro click on the share icon available at the upper right corner. Then select the video option and click on the export button available at the bottom.
If you face any problems or doubt regarding this blog, then you can refer to my youtube video. Link is given below.
If you have any queries about today’s blog then feel free to share with us by using the comment box. We will try to solve your queries as early as possible. Thank you for your valuable time😊


0 Comments